Capacitive Sensor Development Board
This tutorial details how to make a simple breakout for the Arduino CapacitiveSensor library. The library turns two or more pins of an Arduino pins into a capacitive sensor which can then be used to sense the electrical capacitance of the human body.
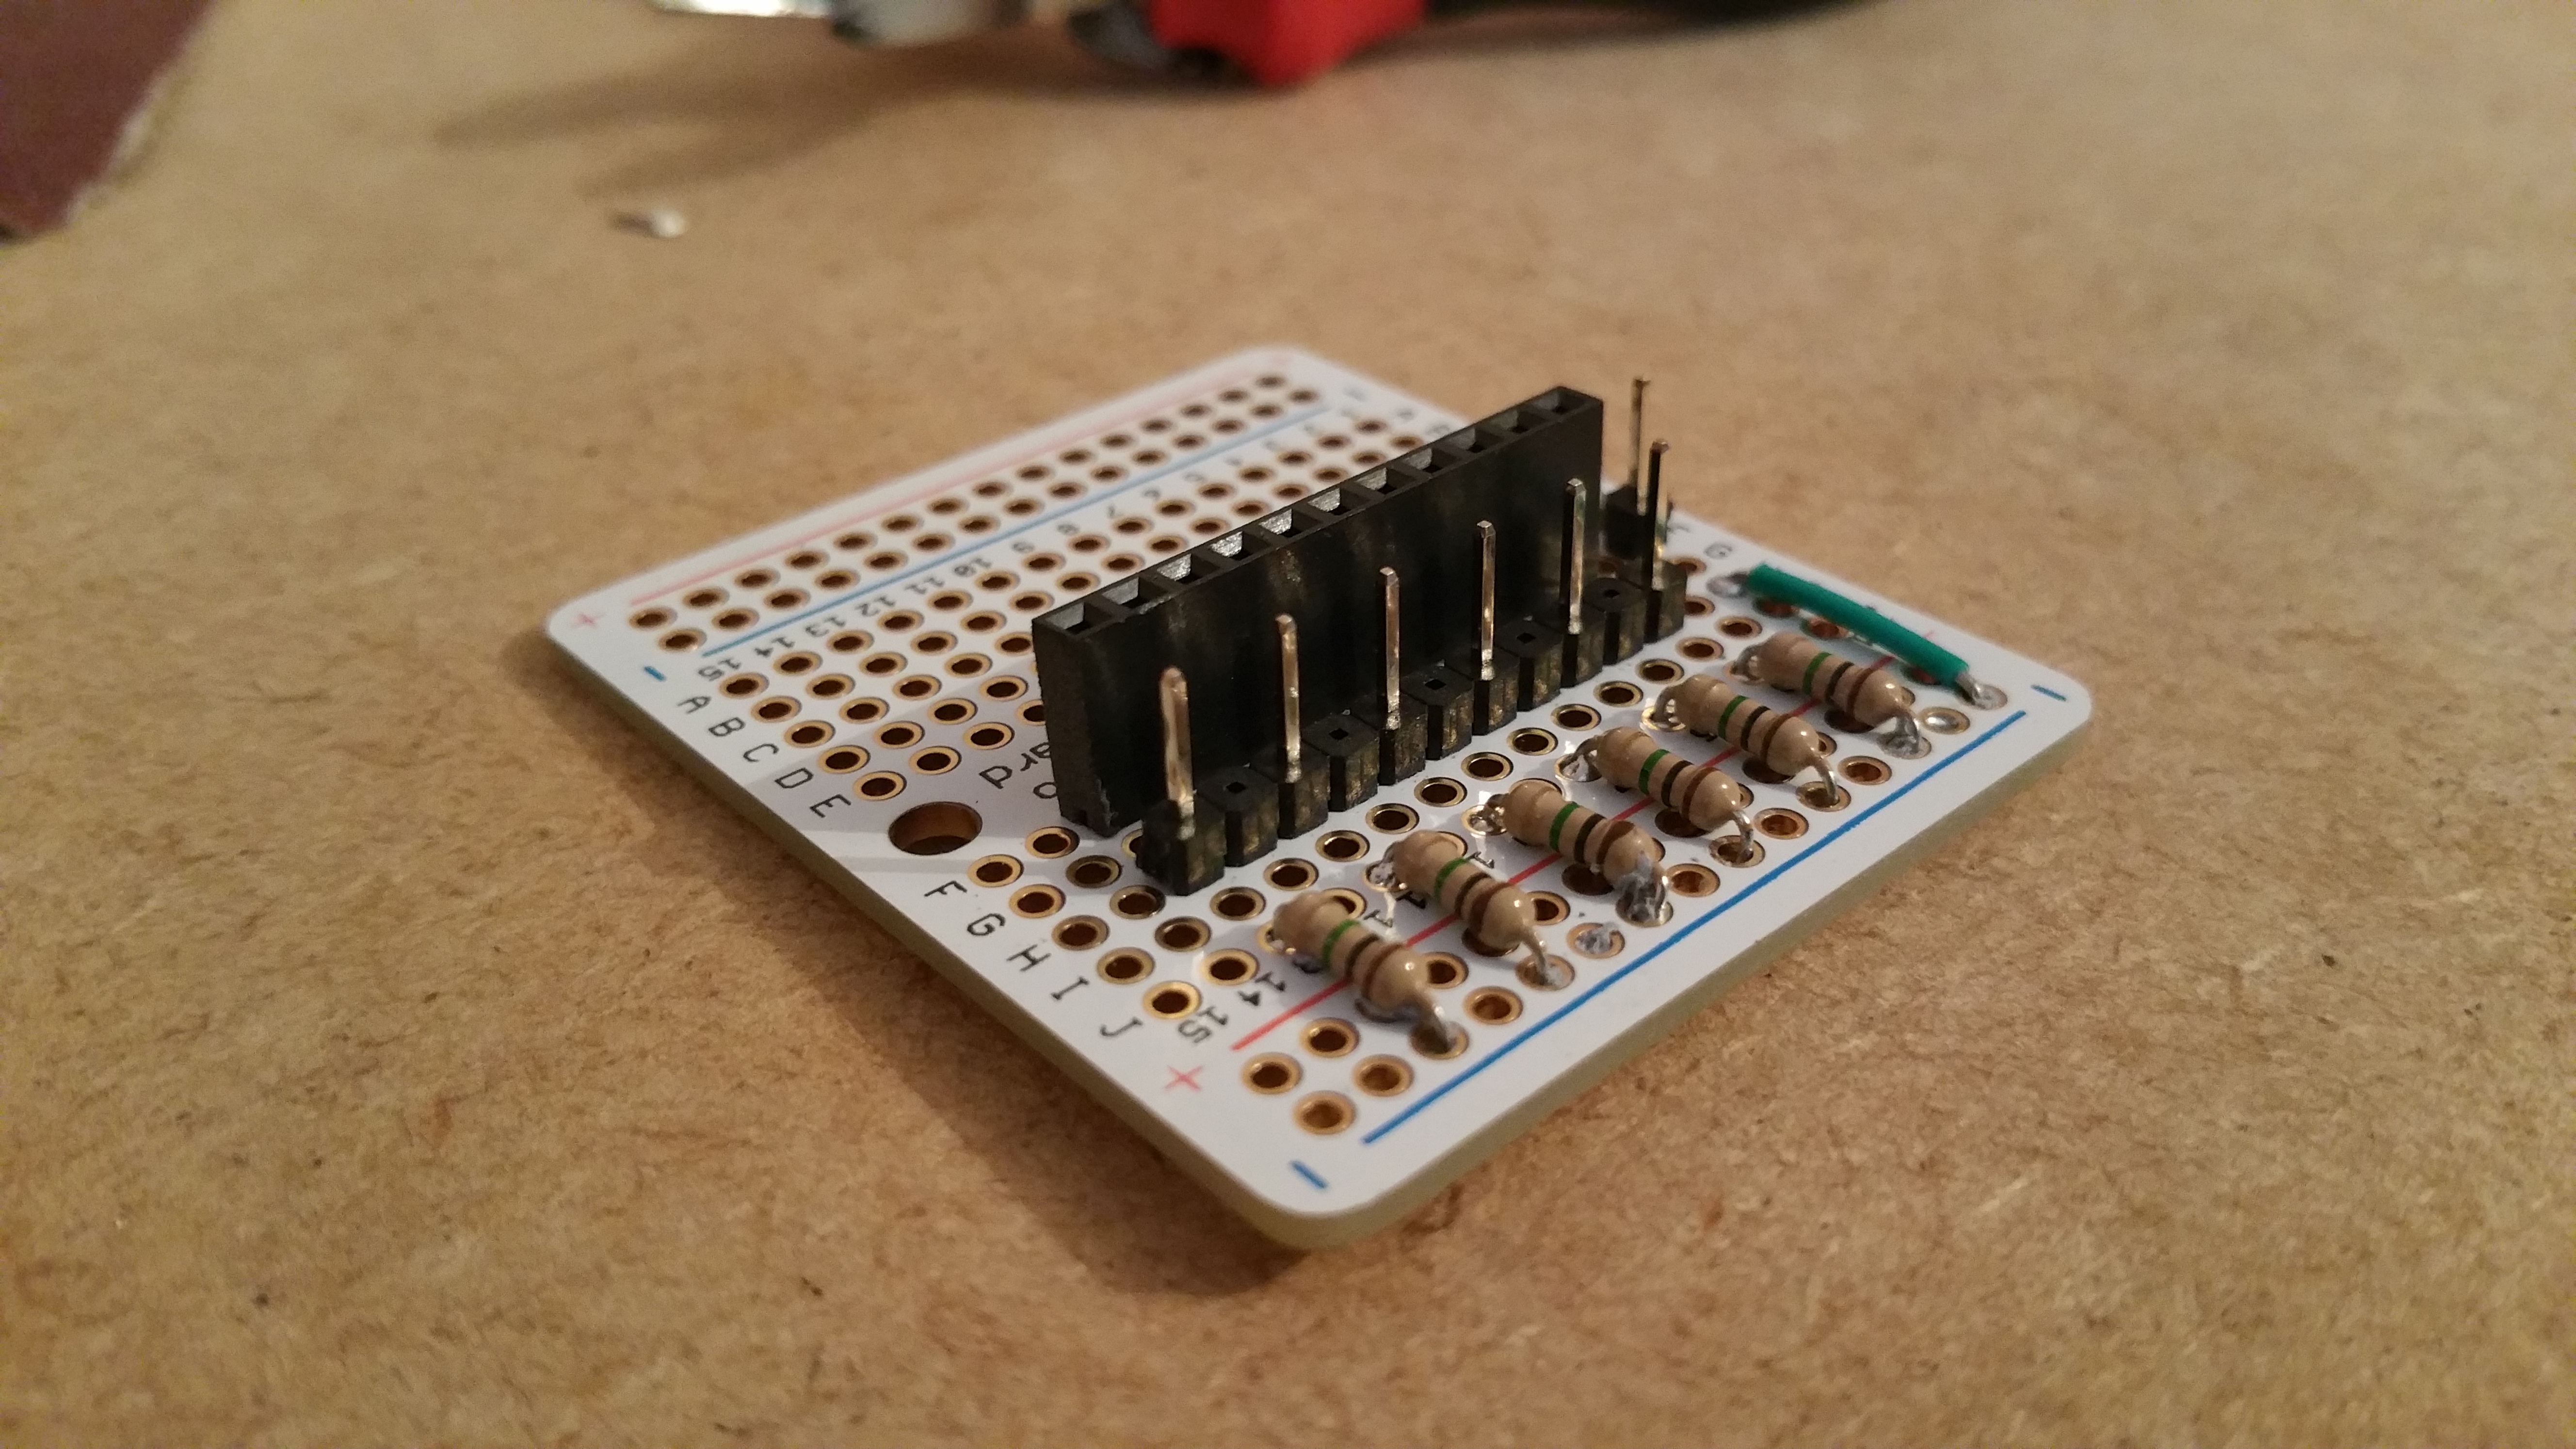
The above image shows the final product; a sensor breakout capable of handling up-to six soft textile contacts.
Bill of Materials
In order to build the above breakout you will need the following components:
- Six 1000 kohm resistors
- Some wire
- Male and Female header strips each 11 pins in length
- A single header pin
- Adafruit Perma-Proto (Quater size)
Putting it Together
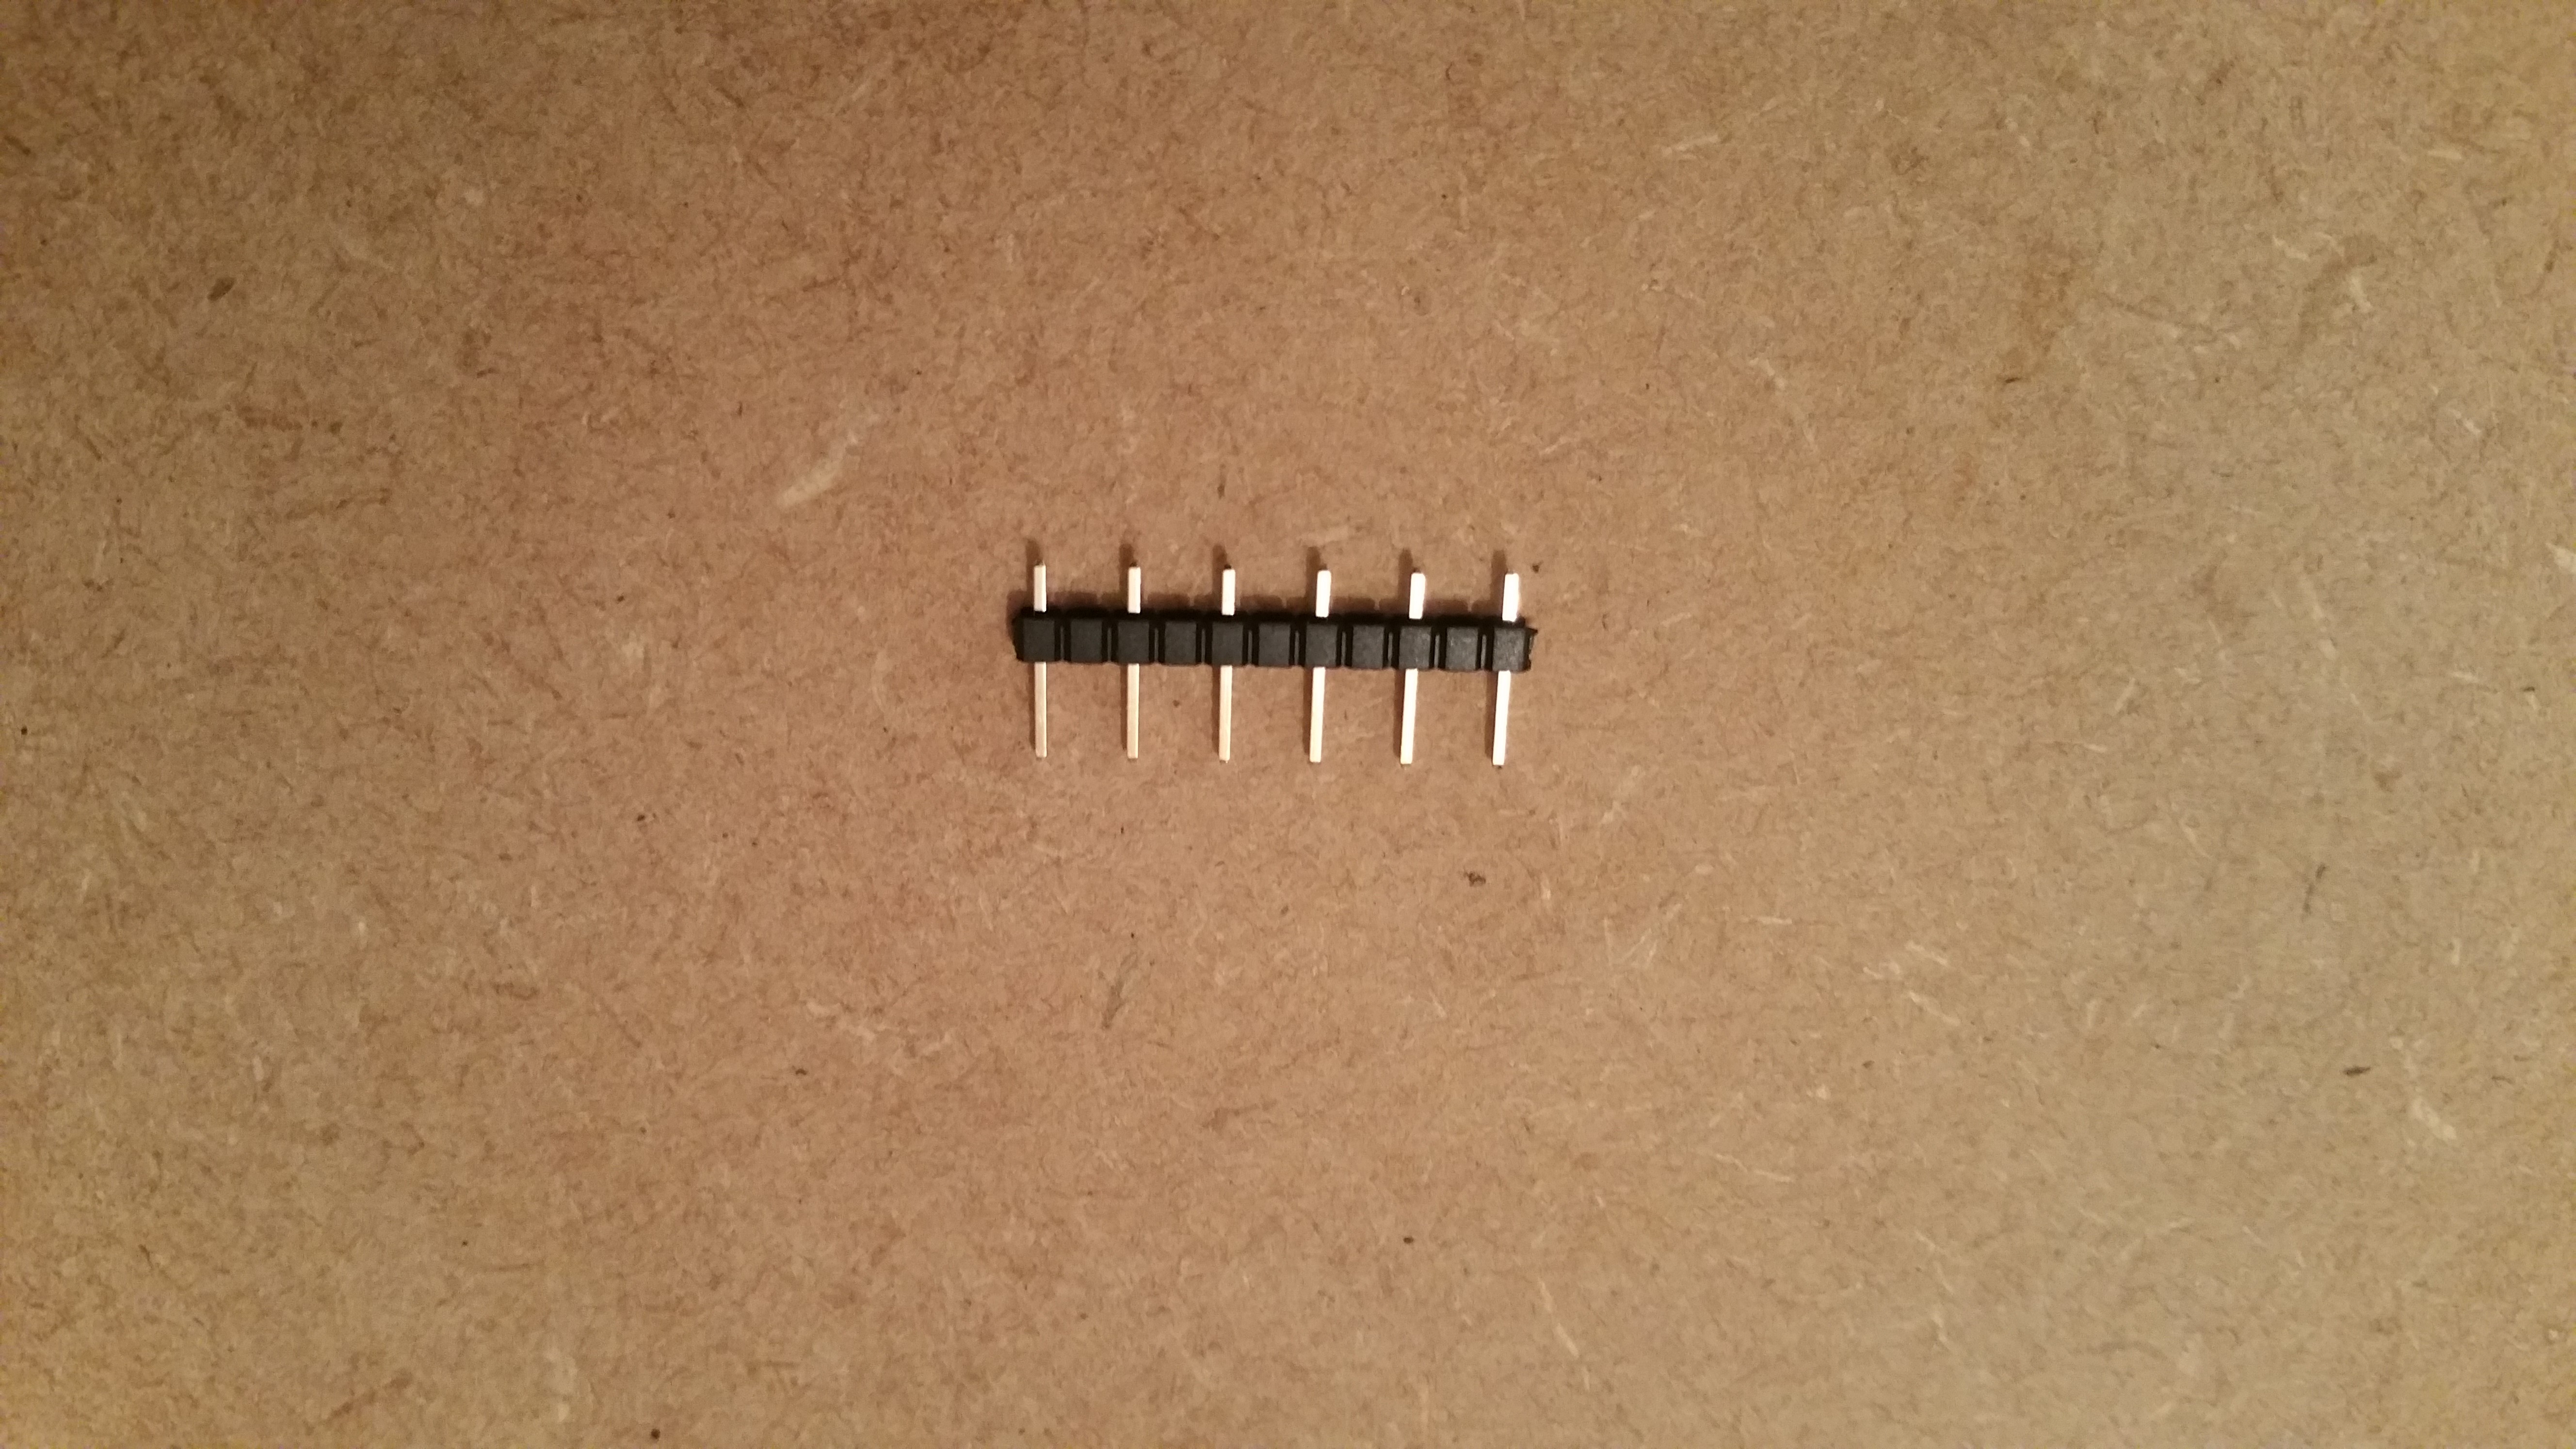
First; remove every other header from each of the header strips using a pair of pliers. This will result in a strip with six pins remaining as shown in figure 2. Make sure you start removing at pin 2. Once complete, repeat the process with the other strip. Again make sure you start at pin 2.
Next, layout each of the resistors on the breadboard so that there is a gap of 1 row between each and so that all of them connect to one of the boards negative lines. Use some blue-tack to hold them in place and then solder to the board.
At the same time also add a strip of wire to the final row instead of a resistor as shown in the above image (figure 3).
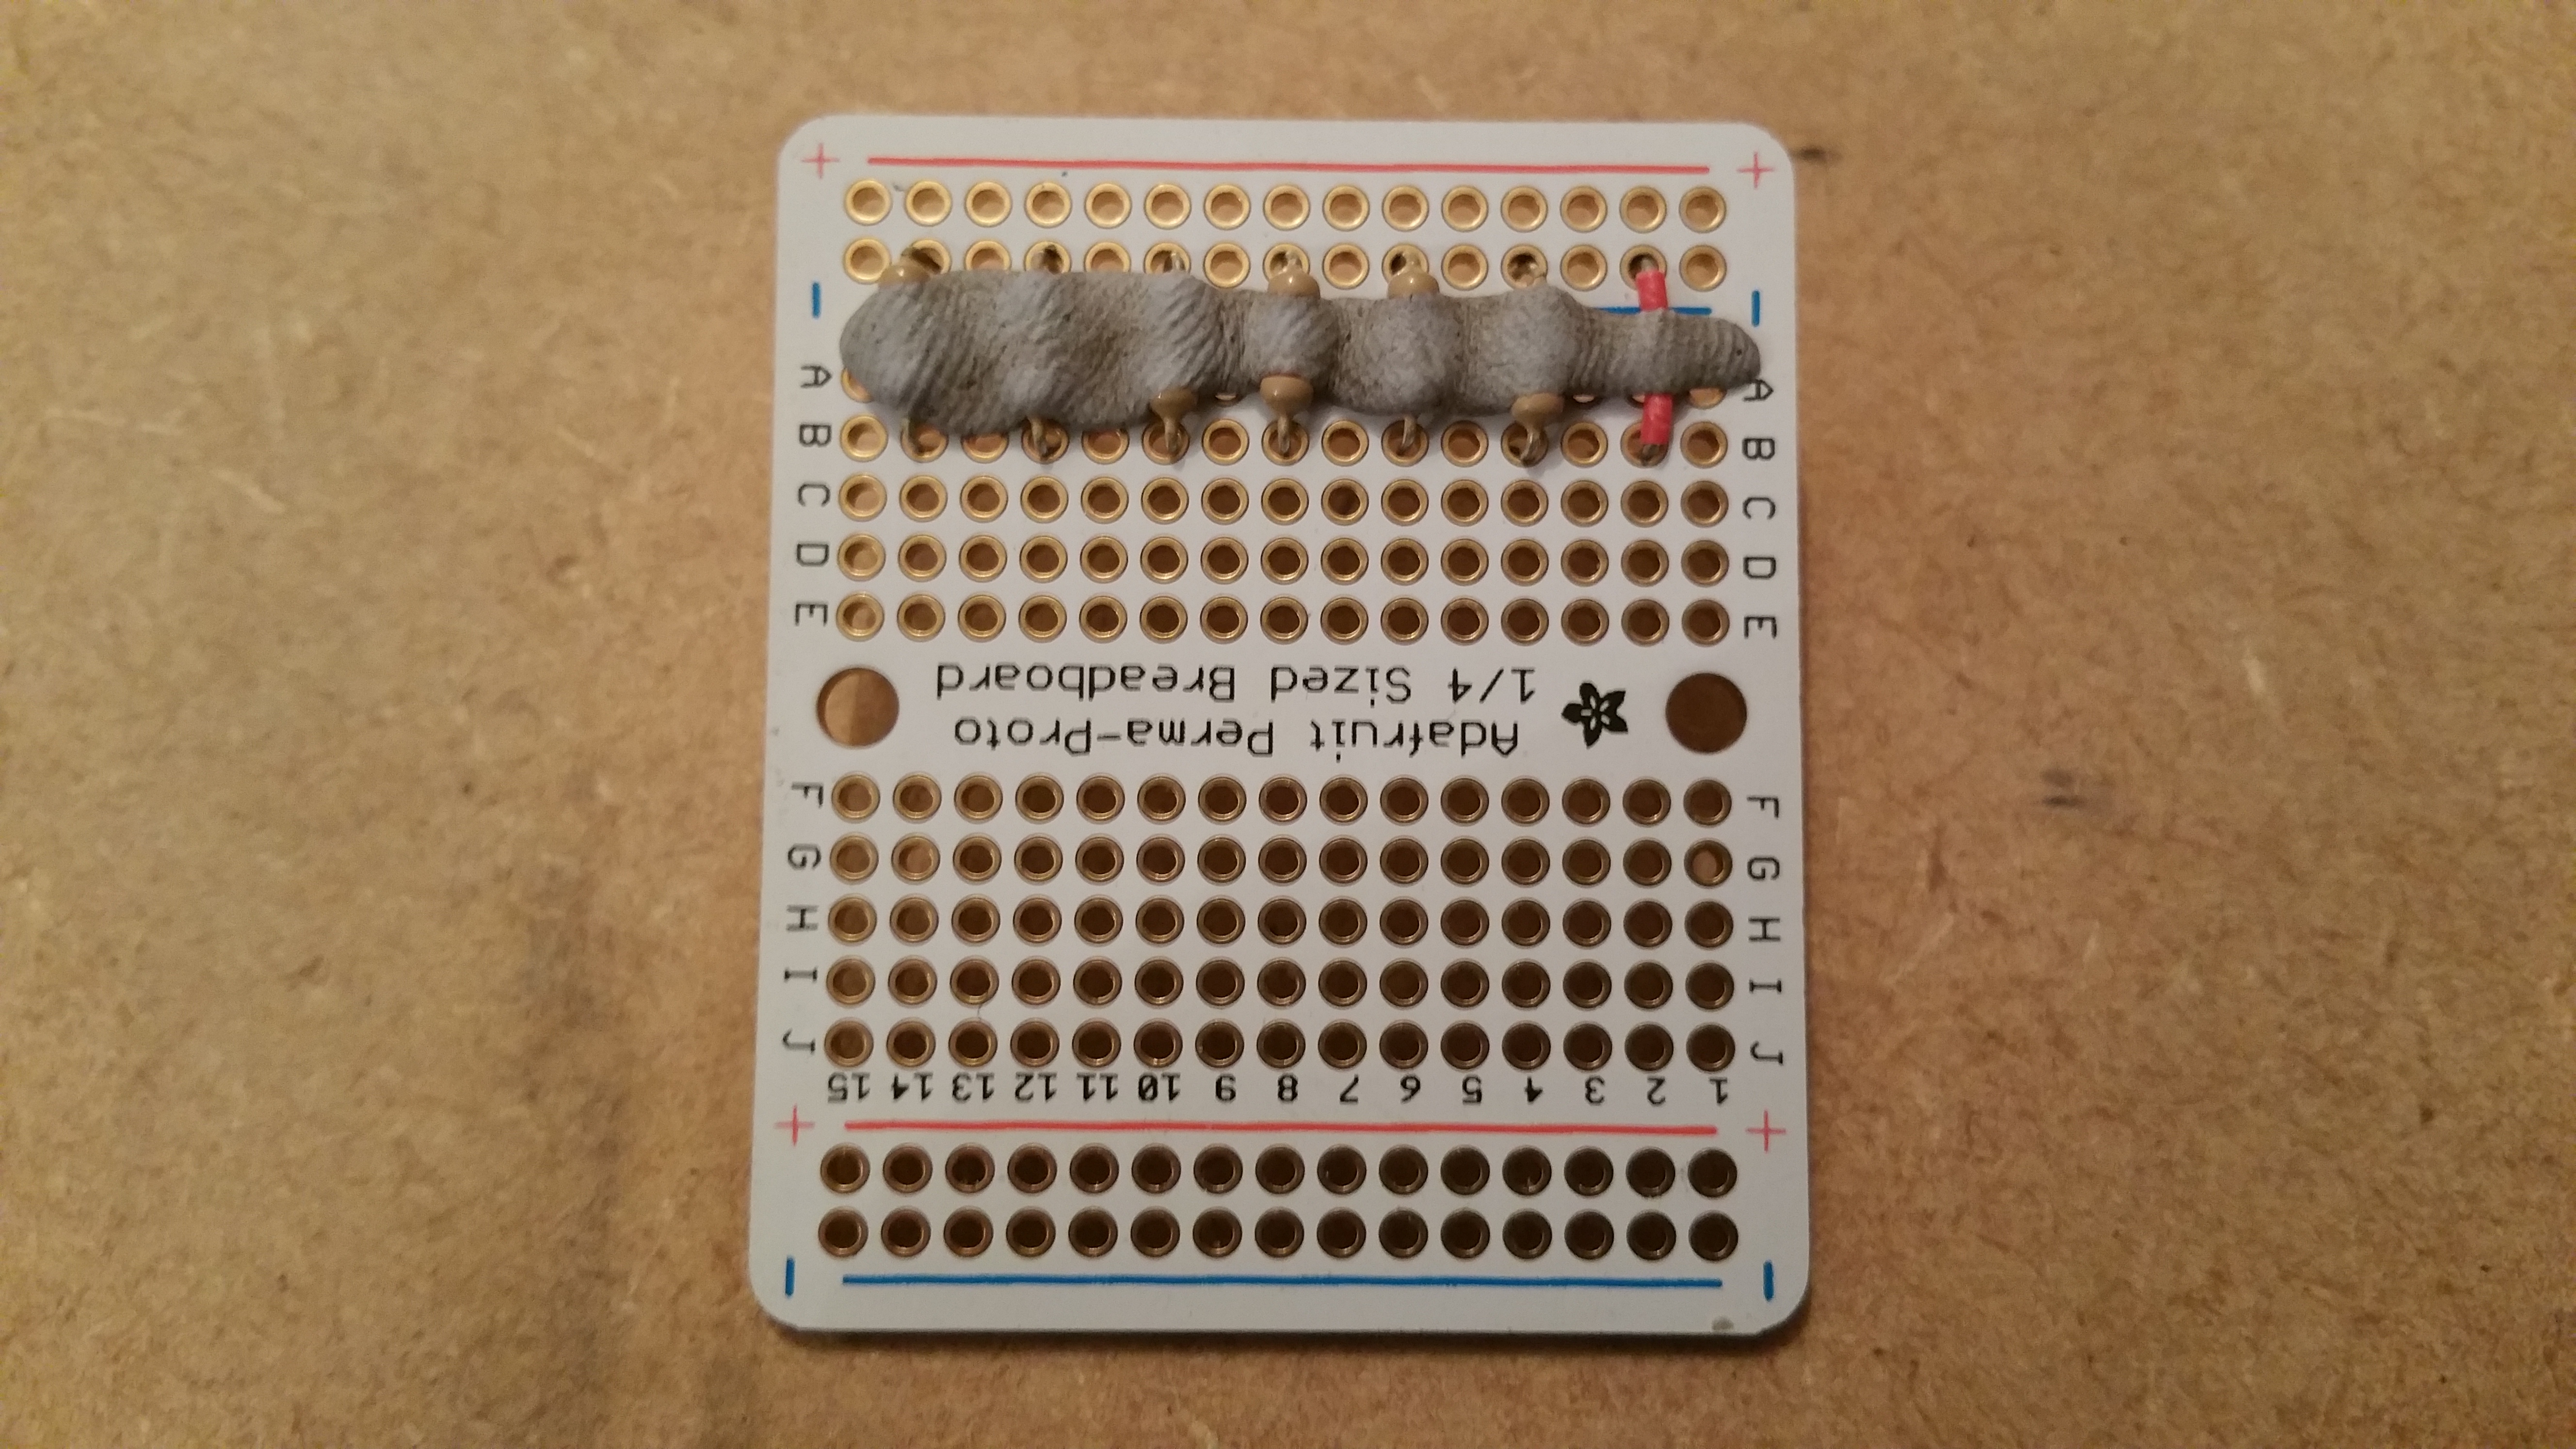
Once the resistors and wires are soldered in place; next add both the header rows so that each pin lines up with one of the resistors. Make sure that the male row is situated between both the resistors and the female row. Once soldered into place you should have something that looks like the following image (figure 4).
Finally add the single header pin to the column with the wire attached as shown above (figure 4). Once soldered into place this pin will become the shared connection line for all of our attached sensor contacts. This is possible because we are using the negative line of the proto-board to share the connection, not supply negative power!
That’s it for the build process; next lets have a look at the Arduino code needed to utilise the sensor breakout.
The Capacitive Sensing Library
The Arduino environment can be extended through the use of libraries, just like most programming platforms. Libraries provide extra functionality for use in sketches, e.g. working with hardware or manipulating data. A number of libraries come installed with the IDE, but you can also download or create your own.
To make use of this breakout we need to download a library from the Arduino web site called the Capacitive Sensing Library. Once downloaded the library can be installed by following the standard library installation instructions which can be found here.
For this tutorial I am just going to skip directly to the code, however Information on how the library works and its features can also be found via the download page. So if you want some more information I highly recommend that you check it out.
The Arduino Code
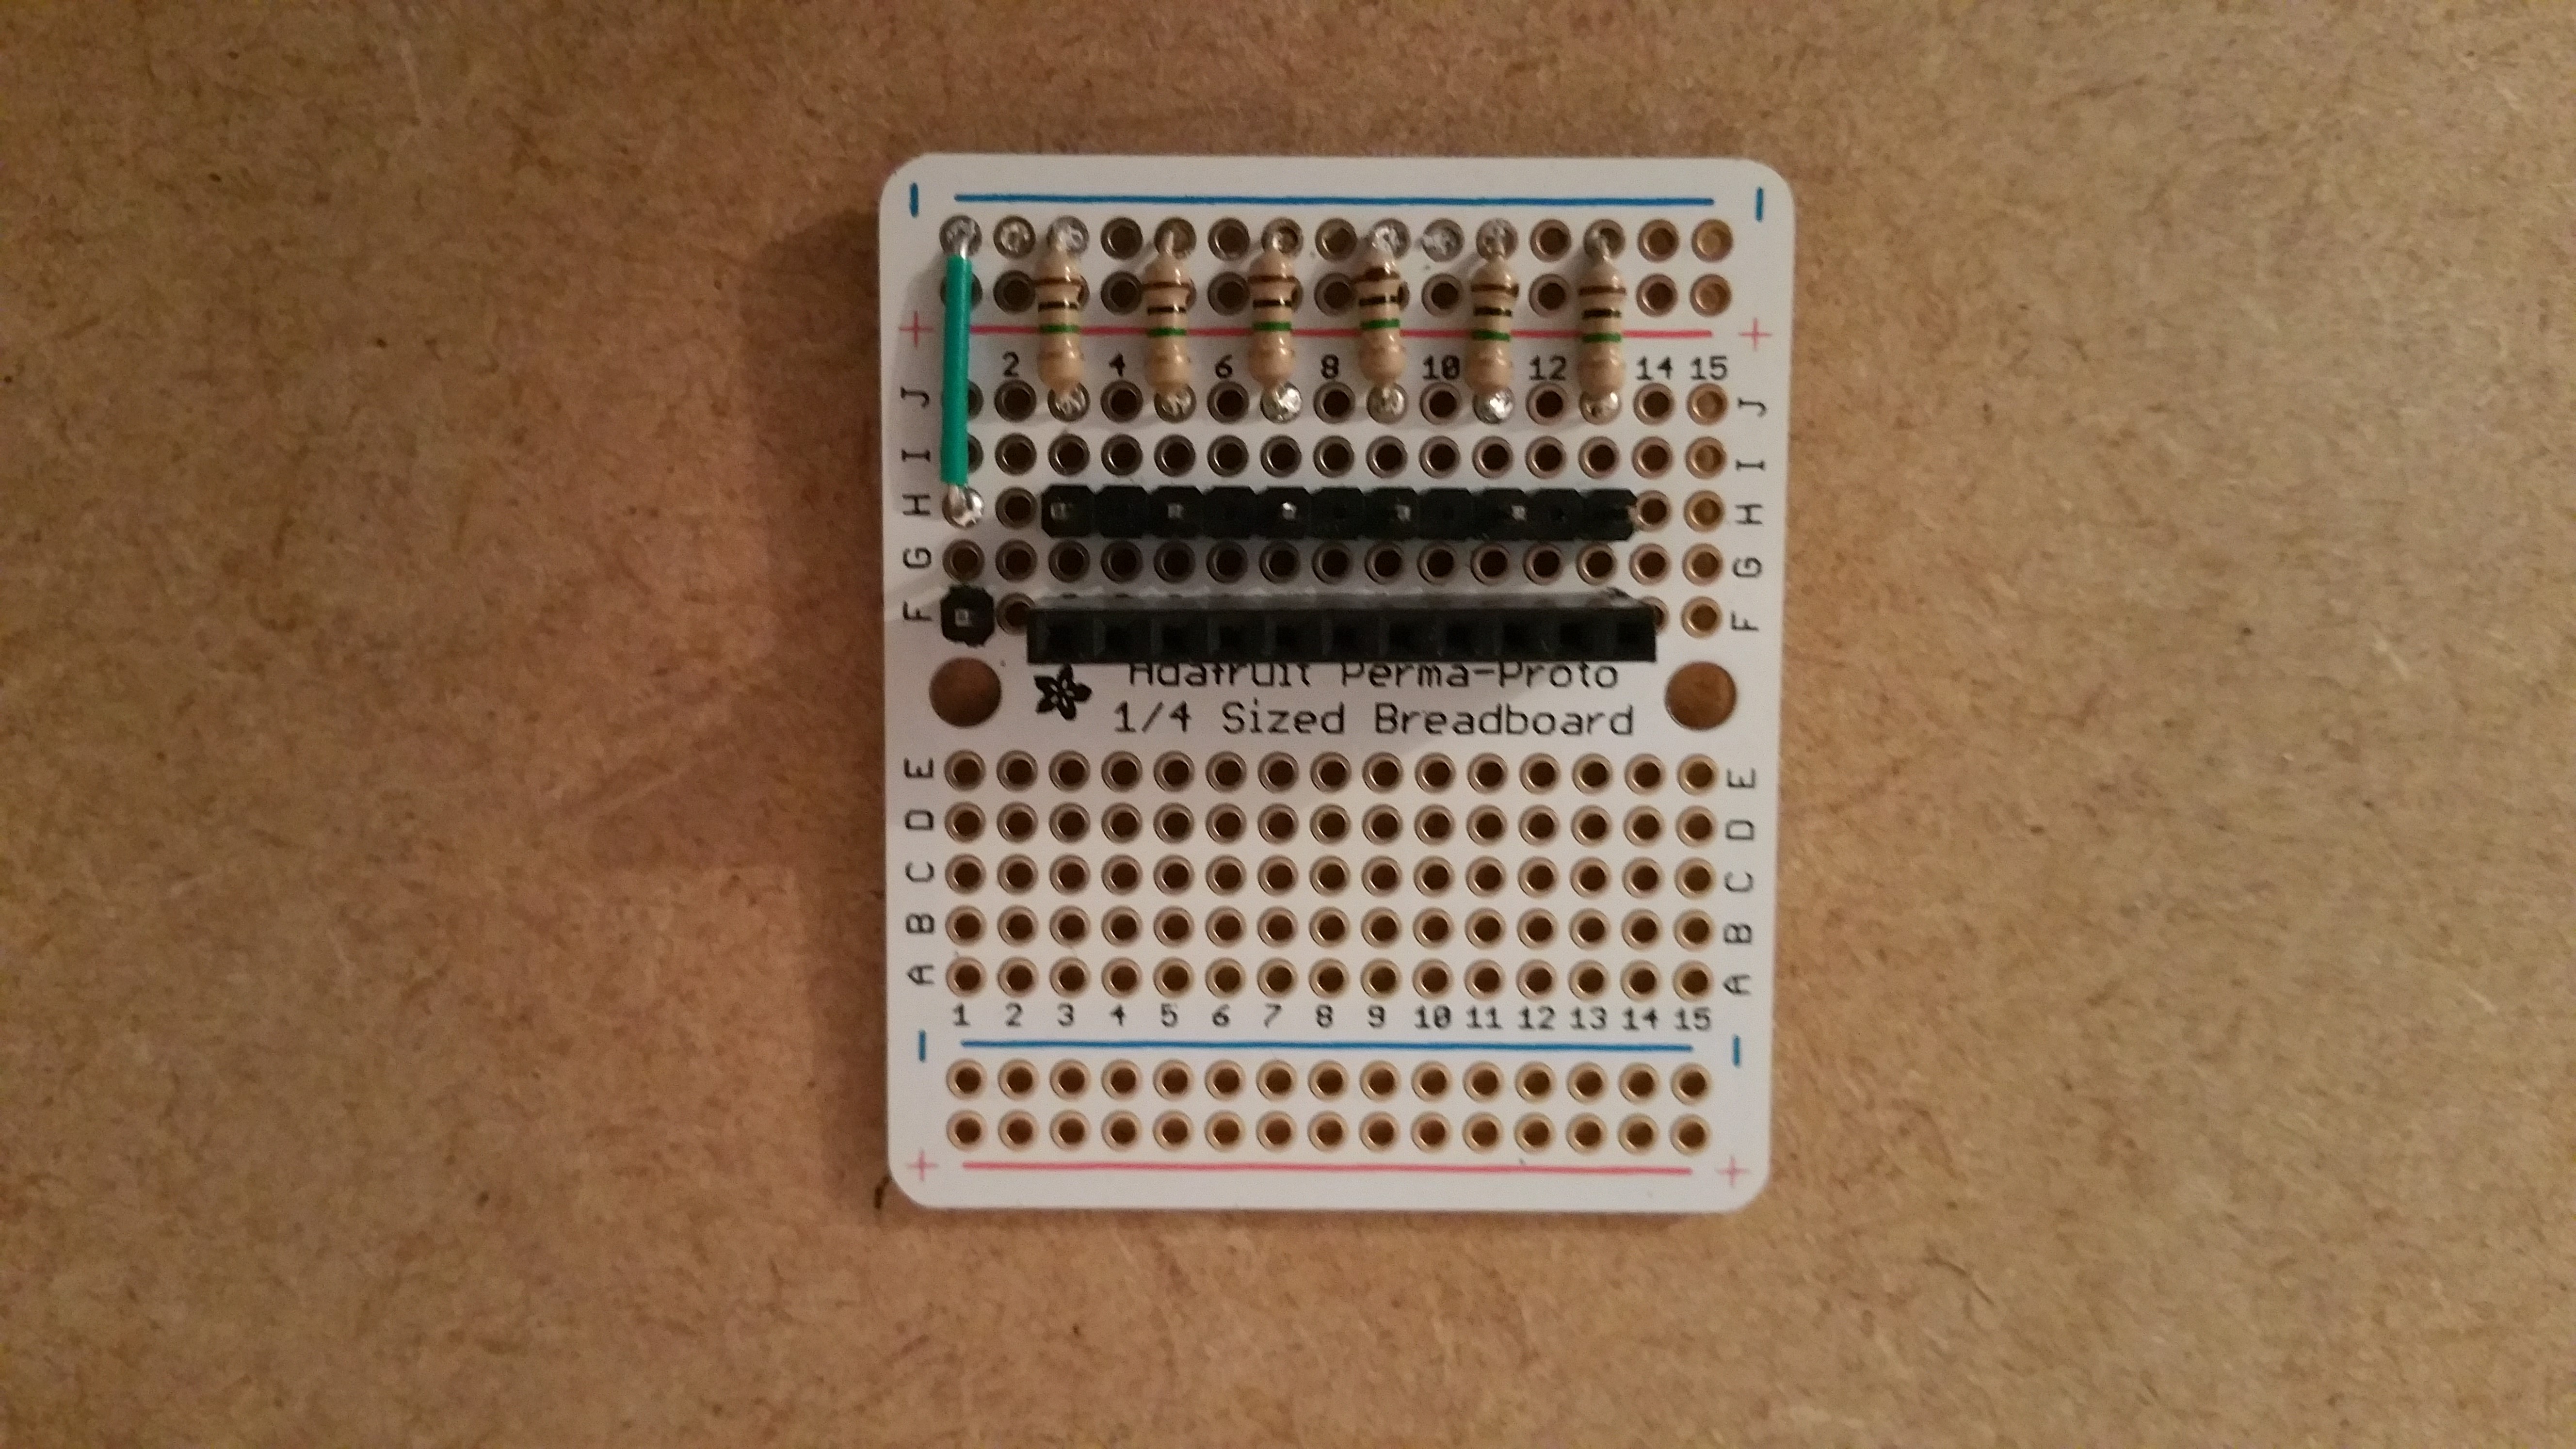
Thanks to the Capacitive Sensing Library the code for the breakout is dead simple. Therefore, rather than giving an in depth description on how everything works I have commented the code so that you can follow along. All you need to do to get the sensor up and running is to upload the following sketch to your Arduino and then connect the following pins (one to each female header slot) 2,3,4,5,6,7 and finally pin 12 to the single header.
Once uploaded the sketch will output six values to the serial monitor. When you touch any of the male header pins the value of the pin will change to show the capacitance of the touch. You can change the value of the threshold to make the sensor more sensitive. Finally; each time the threshold is exceeded the LED on board the Arduino will light up to show that a touch has been detected. A copy of this post published via the IoST Project can be found here.